
プロジェクトをgitで管理する。
最初から紹介する。
Gitがインストールされていること。
GitHubアカウントを作成してから以下の手順を行う。
参考サイト→https://chigusa-web.com/blog/github-push/
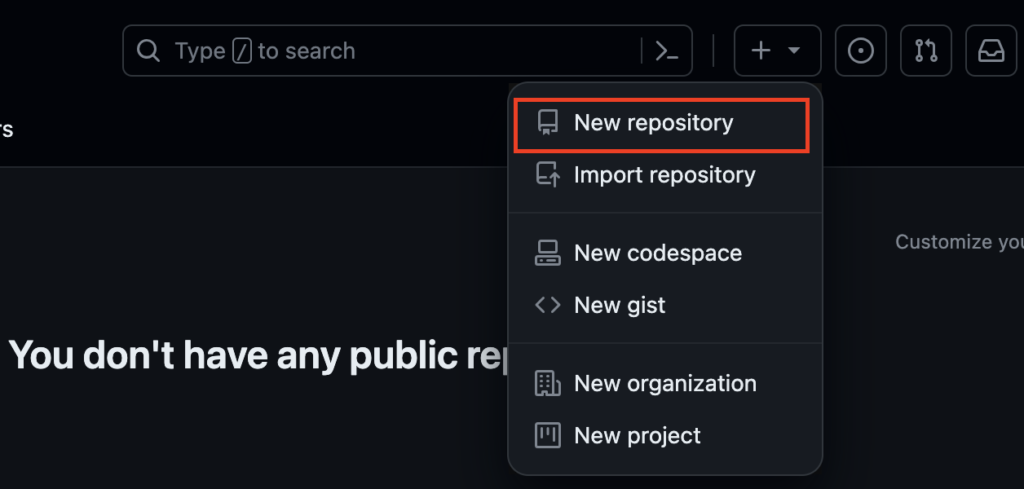
リポジトリの作成
「New repository」を選択
「Repository name」を入力します。
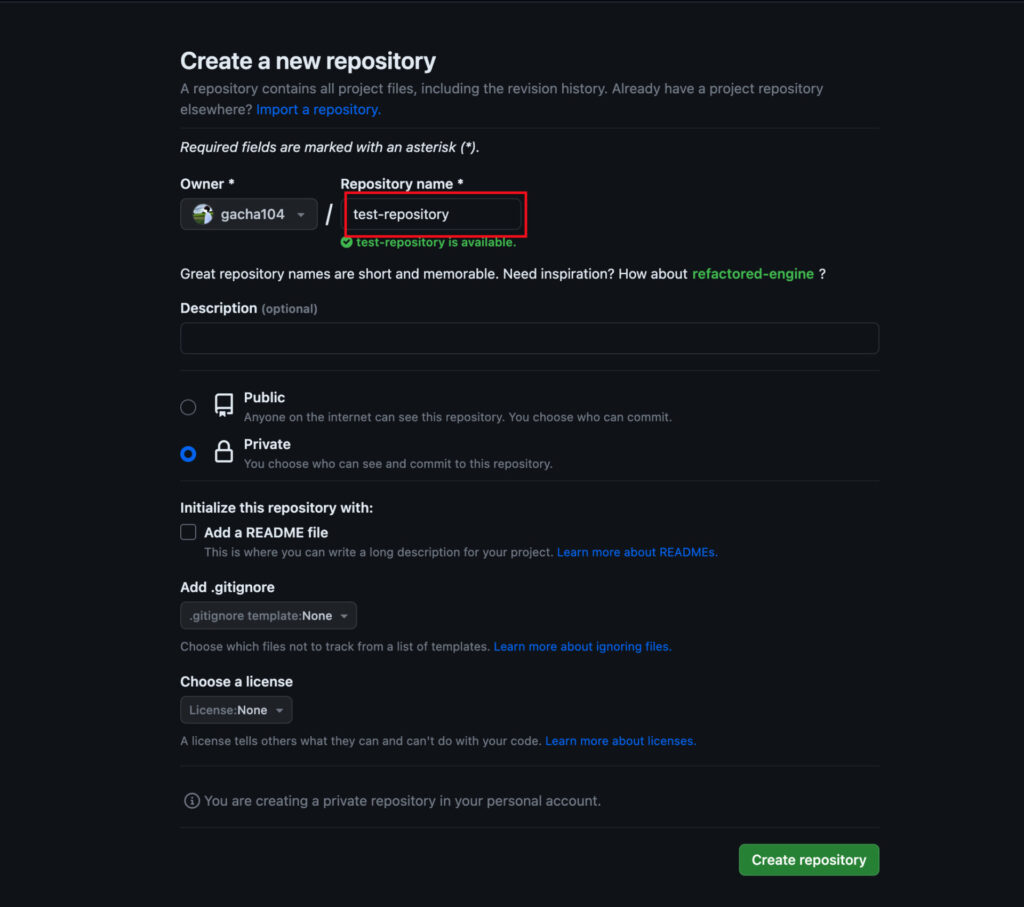
リポジトリの作成が完了です。
プロジェクトをプッシュ
ターミナルを開く。
以下のコマンドを実行する。
git init
git add .
git commit -m "コミットメッセージ"
git branch -M main
git remote add origin [あなたのリモートリポジトリ]
git push -u origin main
プッシュ時、以下のエラーが出る可能性がある。
Username for 'https://github.com': xxx
Password for 'https://xxx@github.com':
remote: Support for password authentication was removed on August 13, 2021. Please use a personal access token instead.
remote: Please see https://github.blog/2020-12-15-token-authentication-requirements-for-git-operations/ for more information.
fatal: Authentication failed for 'https://github.com/chigusa-web/example-laravel-github.git/'
以下の方法を試すと、プッシュができるようになります。
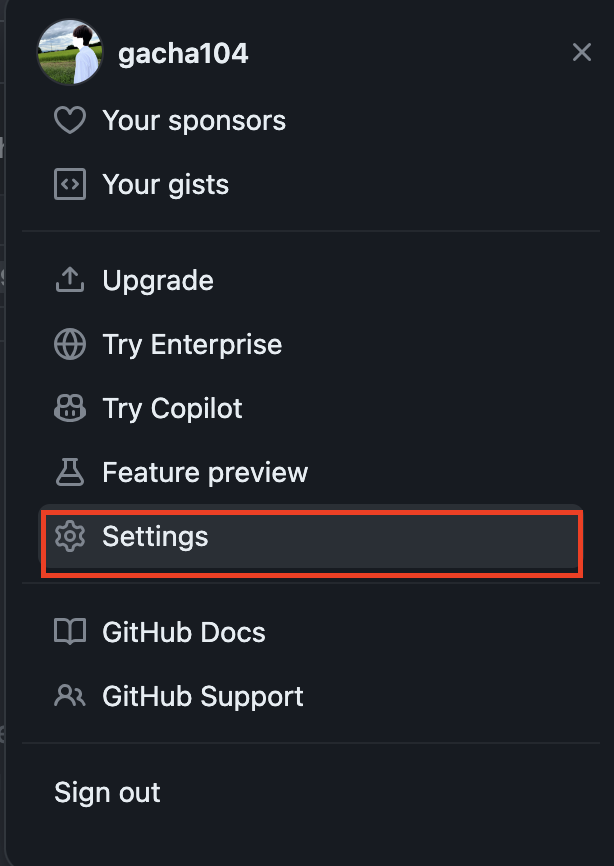
GitHubのアカウントのSettingsを開く。
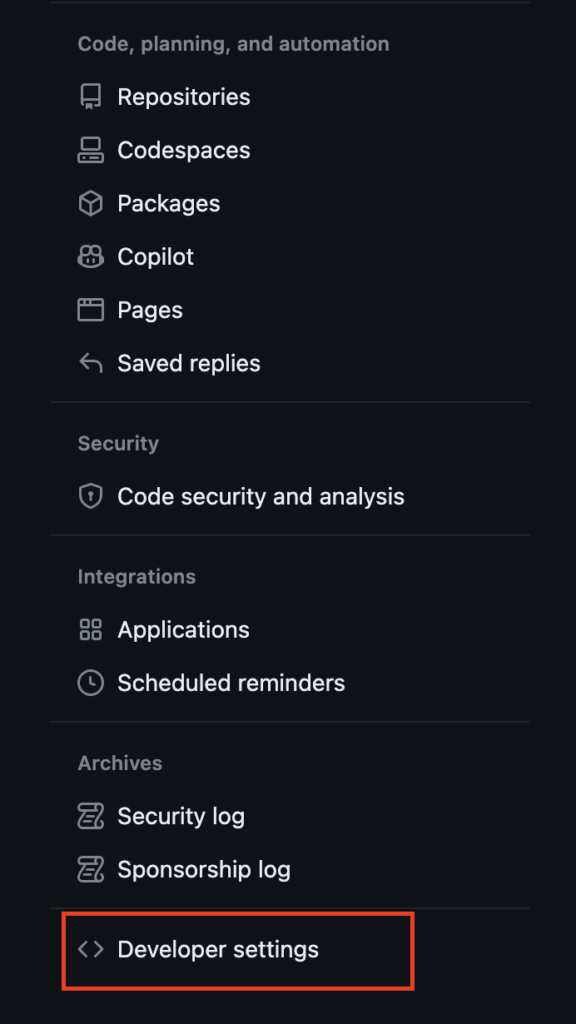
左サイドバーでDeveloper settingsをクリックする。
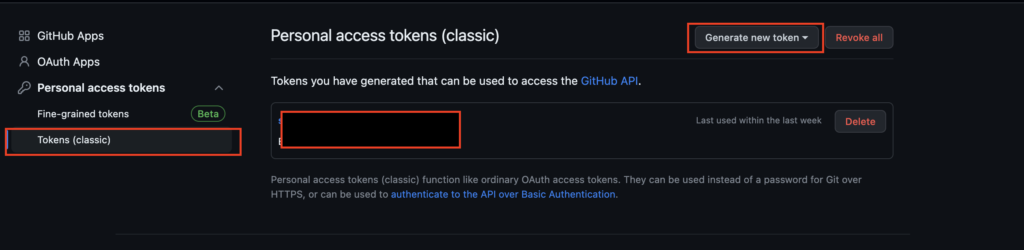
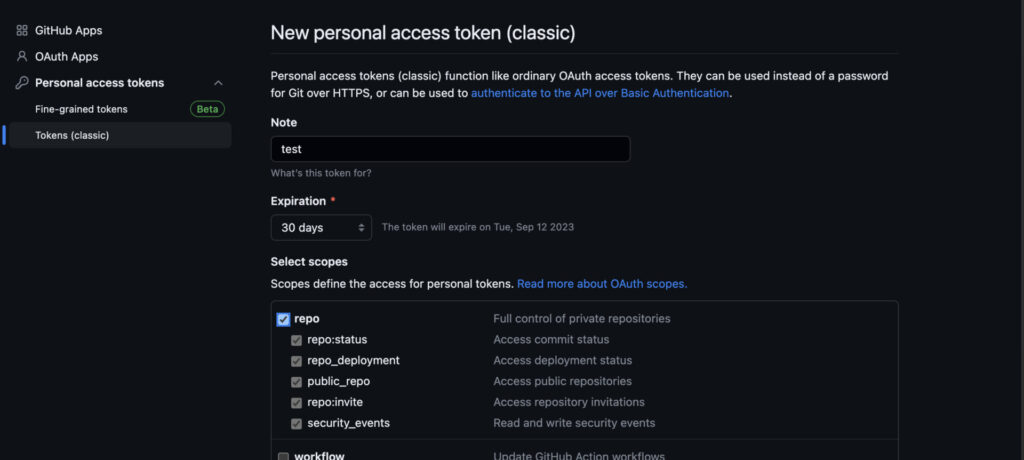
「Personal access tokens>Tokens(classic)」を選択し、「Generate new token」をクリック。
作成されたトークンをコピーします。
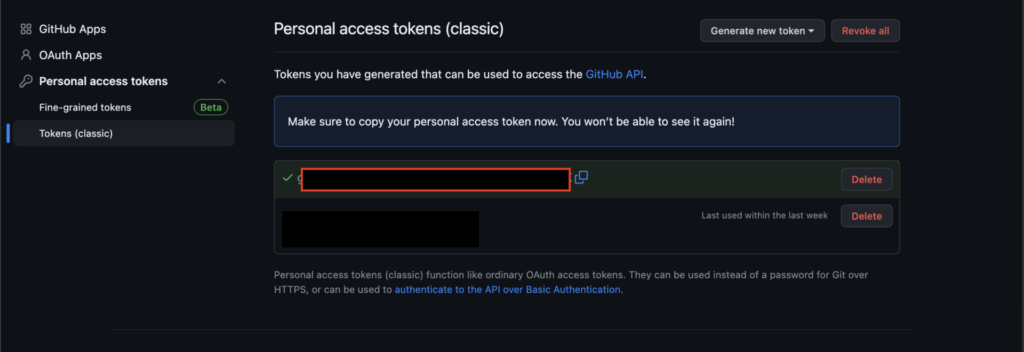
トークンの作成が完了したら、もう一度プッシュし、
ログイン情報のパスワードとして、トークンを入力してください。
以上でプロジェクトのプッシュが完了です。
追加で修正を行い、反映させる場合は、
以下で説明しています。
(ブランチの作成や、コミットプッシュ、マージまでの流れを解説するブログを作成)


コメント